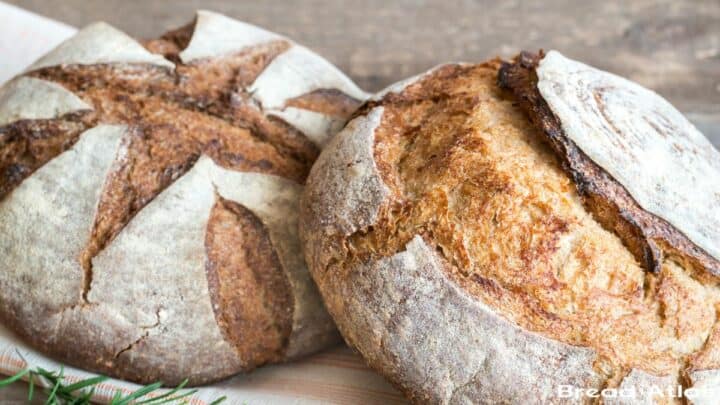
Solved! 10 Common Bread Baking Problems (And How to Fix Them)
Baking bread can be a deeply rewarding experience, transforming simple ingredients into delicious and nourishing loaves. However, even the most seasoned bakers encounter challenges along the way. Here’s my guide to troubleshooting some common bread-baking problems.
Disclosure: This post may contain affiliate links. This means I get a small commission if you decide to make a purchase through my links at no extra cost to you.
Bread baking is both a science and an art, with countless variables that can affect the outcome of your loaves. From temperature fluctuations to ingredient ratios, there are many factors that can lead to unexpected results during bread-baking.
In this article, I address some of the most common bread-baking problems that I have faced during my bread-baking journey. I will also provide practical solutions to help you troubleshoot and overcome them.
Problem 1: My Bread Didn’t Rise!
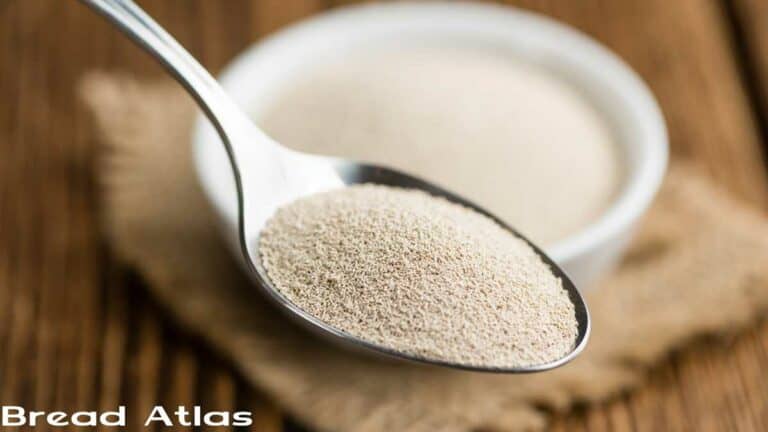
Cause: There are two potential reasons. The water might have been too hot, killing the yeast. Alternatively, the dough could be lacking in yeast or kneaded for too short a time, hindering gluten development.
Solution: Always check the water temperature (around 105 to 110 F is ideal). Ensure you’re using the correct amount of yeast and activate it properly according to the recipe. If your dough seems underdeveloped, knead for a few additional minutes until it becomes smooth and elastic.
Understanding the different types of yeast is crucial for successful bread baking. Here is a detailed guide on the various types of yeast and how they affect your dough to ensure you choose the right one for your recipes.
Problem 2: My Bread is Dense and Heavy
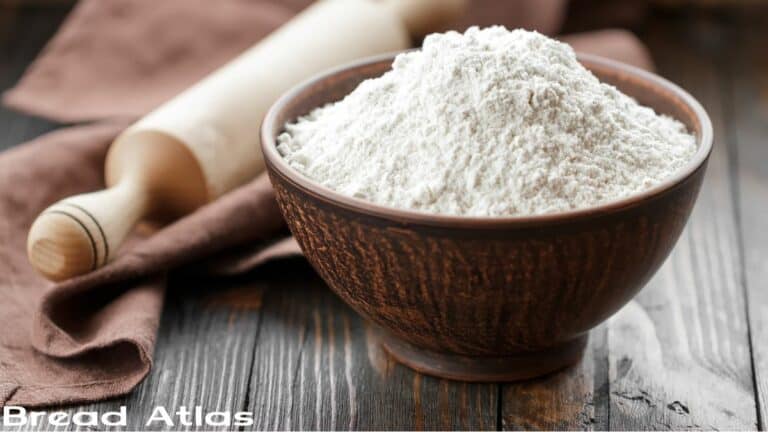
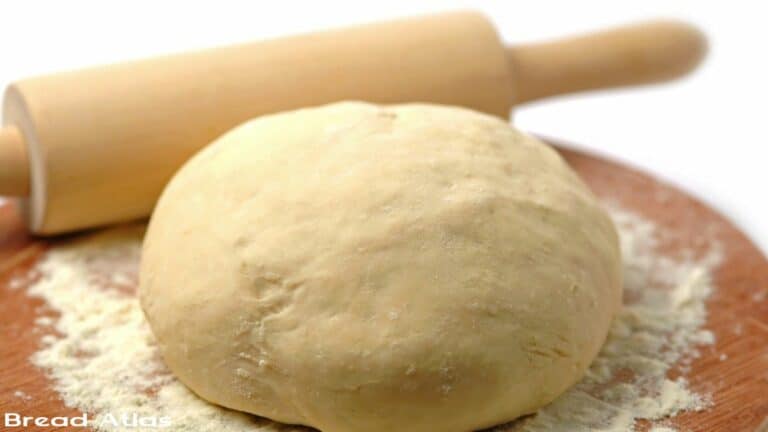
Cause: This could be due to under-kneading, leading to weak gluten development. Additionally, using too much flour or not allowing the dough to rise sufficiently can contribute to a dense texture.
Solution: Knead the dough well and perform a windowpane test when possible. Aim for a smooth and elastic dough. Double-check flour measurements and avoid adding too much. Let the dough rise until almost double in size in a warm and dry location.
Problem 3: My Bread Burned on the Outside But Is Raw Inside.
Cause: This is often caused by a too-hot oven. Additionally, shaping the dough too loosely can lead to uneven baking.
Solution: An oven thermometer can be very handy for calibrating the oven temperature for accuracy. Reduce the baking temperature by 25 F and bake for a few more minutes if needed. Shaping the dough into a tight boule or batard can help ensure even baking.
Problem 4: My Bread Came Out Flat and Spreads Out While Baking
Cause: This likely indicates weak gluten development due to under-kneading or not enough gluten in the flour. Over-proofing can also contribute to a flat loaf.
Solution: Follow the recipe for proper kneading. Pay attention to proofing times and avoid letting the dough rise for too long. Proper kneading is essential for developing the gluten structure in your dough, which is key to achieving the perfect texture in your bread. Learn more about the importance of kneading and how to do it correctly in this comprehensive guide.
Problem 5: My Bread Has a Gummy or Undercooked Interior
Cause: Gummy or undercooked interior occurs when there is insufficient baking time or when the oven temperature is too low, preventing the bread from fully cooking through.
Solution: Always ensure that the oven is preheated before you begin baking the bread. Increase the baking time by a couple of minutes to ensure even cooking.
Problem 6: My Bread Has a Pale Crust
Cause: Oversteaming during the initial stages of baking can create excessive moisture on the surface of the dough, inhibiting proper crust formation and browning.
Solution: Reduce the amount of steam in the oven by adjusting the method of steaming or reducing the duration of steaming. Alternatively, remove the lid from the baking vessel earlier in the baking process to allow excess moisture to escape and promote crust browning. Adjusting the oven temperature may also help achieve a more desirable crust color.
Problem 7: My Bread Has a Thick, Gummy Crust
Cause: This often happens when too much sugar is used in baking or if the baking temperature is too low.
Solution: Measure and use the correct amount of sugar mentioned in the recipe. Alternatively, bake the bread at a slightly higher temperature for a shorter time to achieve a crispier crust. You can also cure the bread to get a softer crust. To do this, once the bread is baked, turn off the oven and let it sit in the oven with the door ajar for 15 minutes.
Problem 8: My Bread Has Large Holes in the Crumb
Cause: This can be caused by over-proofing, trapping too much gas that creates large pockets during baking. Uneven kneading can also lead to uneven crumb structure.
Solution: Pay close attention to proofing times and avoid letting the dough rise for too long. Ensure thorough and even kneading to develop a consistent gluten network.
Problem 9: My Bread Has a Sour Taste (When Not Making Sourdough)
Cause: This might be due to using old or expired yeast. Alternatively, the dough could have been over-proofed, leading to the development of off-flavors.
Solution: Always use fresh, active yeast. Check the expiration date before using. Be mindful of proofing times to avoid over-fermentation, which can lead to a change in the flavor profile.
Problem 10: Flat or Deflated Bread after Shaping
Cause: Poor shaping technique or insufficient gluten development can cause the dough not to hold its shape.
Solution: Practice proper shaping techniques, ensuring the dough is tightly shaped with adequate tension. Additionally, ensure the dough has been adequately kneaded to develop gluten strength, which provides structure and support for the loaf during shaping and proofing.
Conquer Every Loaf!
Bread baking is a science, but it is also an art! You follow the recipe, the precise measurements, the kneading techniques – the science. But there’s also a touch of artistry involved, a feel for the dough, and a willingness to experiment. Don’t be discouraged by setbacks! Bookmark this guide as a handy reference. With a little practice, you’ll be baking beautiful, delicious loaves in no time. Now, get out there and conquer your next bake!